A radio strap is incredibly handy for first responders, and a custom strap provides additional safety benefits as well. When worn around the shoulder, with a properly designed strap, your radio stays firmly in place yet remains easily retrievable for use in emergencies.
Depending on whether it is a matter of material selection, adjustability, or adding individual options, a custom strap can make a big difference. In this guide, you will find a clear outline of the process of designing a radio strap that is not only practical but also personalized.
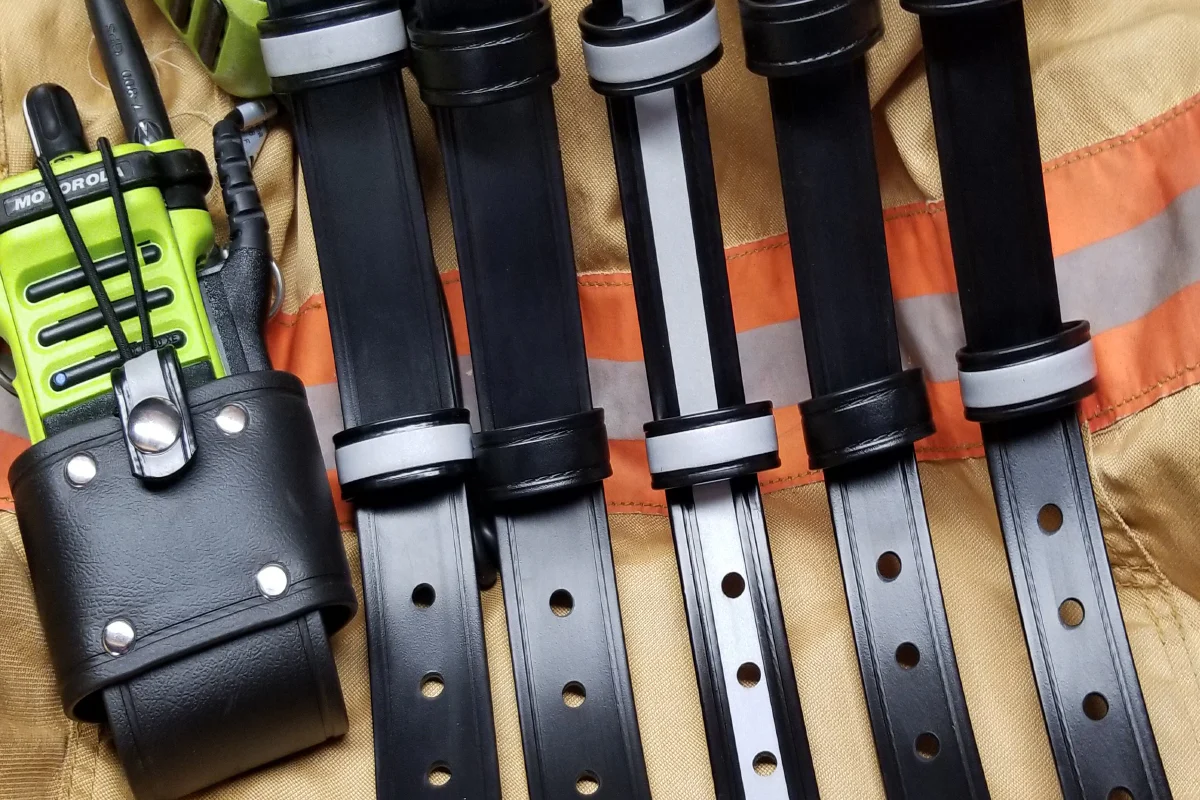
Step 1: Choose the Material
The first step to designing custom radio straps is choosing the material to use in the making of the strap. The two most popular materials used for constructing these products are leather and nylon. Leather straps are very strong and simple and most people prefer them. Nylon is light, flexible, and in many cases cheaper as compared to leather. Think about your workplace setting and the amount of stress that will be put on your strap before deciding on the material to use.
Step 2: Measure for a Perfect Fit
When designing radio straps, it is very important to ensure that it fits comfortably. Take the measurement across the chest—from the shoulder where the strap will sit to the level of the radio holder at the hip. Make sure to add adjustments just in case you may be wearing it over outfit gear or casual clothing. An adjustable strap can be beneficial in terms of flexibility in the various situations that may be encountered.
Step 3: Customize the Design
It is common for many professionals to incorporate their own looks, name plates, badge numbers or other numerals that may show their personality. You may also want to select from a range of colors or stitching that are more to your liking.
Step 4: Add Essential Accessories
If you need to improve functionality, special accessories can be added to custom radio straps. Some of the accessories include microphone holders that hold your microphone when not in use, glove holders to keep your gloves in when you are not using them, and flashlight holders. Consider the tools that you often handle in your working environment and consider how they may best be incorporated in your strap.
Step 5: Test and Adjust
After the custom radio strap has been made, it should then be field tested. Wear it once in a while to ensure it is suitable to wear and adjust it by shortening or lengthening it if required. Fine tune what has been produced to ensure that the length or the position of the accessories are optimal, to achieve the best results in terms of comfort and efficiency.
Conclusion
Customizing your own radio strap is a very satisfying experience, as the end product meets your requirements and is also visually appealing. Follow the above highlighted procedures to get an ideal strap that meets your comfort needs as well as offers convenience and practicality during your working periods.